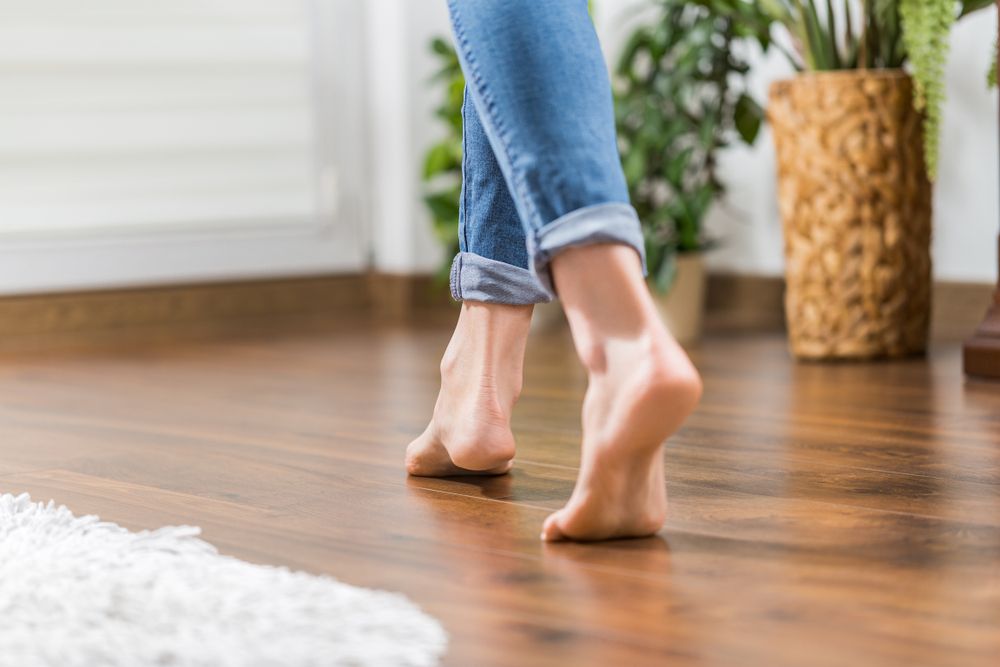
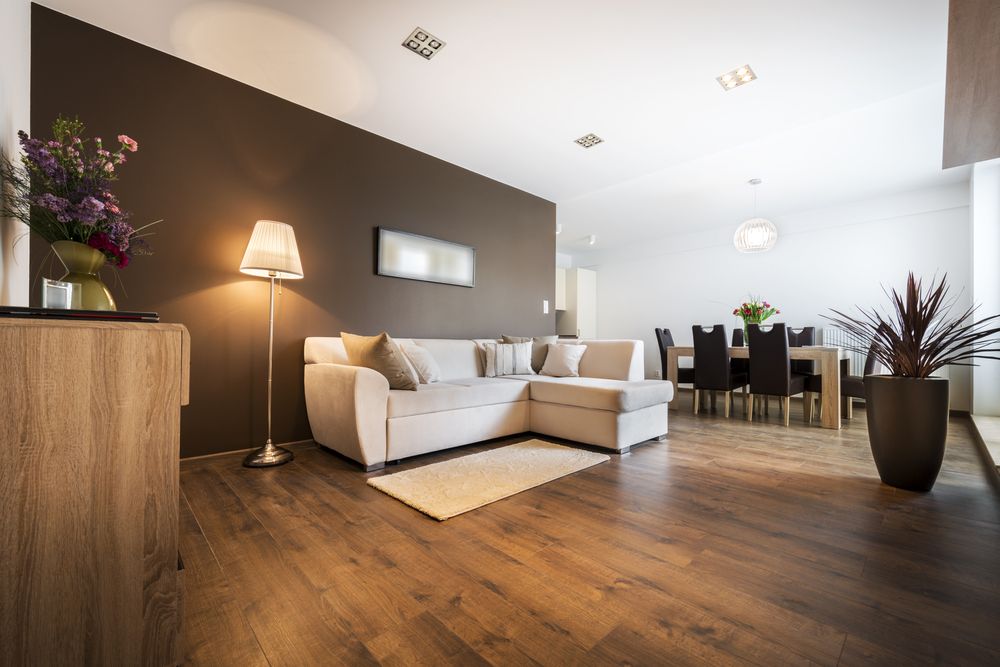
Wooden items—from furniture to flooring—are prized for their natural beauty and durability, but over time, they can lose their luster. Scratches, stains, faded finishes, and general wear can make once-majestic wooden surfaces look tired or neglected. Thankfully, refinishing or restoring wood can be a surprisingly rewarding do-it-yourself project, letting you transform battered pieces into eye-catching centerpieces again. This guide walks you through the essential steps of assessing damage, removing old finishes, and applying protective coatings—helping you bring wood back to life and reveal its warm, timeless character.
1. Evaluating the Wood and Its Finish
Why It Matters
Before diving into refinishing, it’s important to understand the condition of the wood and what type of finish it currently has. Different approaches and products suit different scenarios—like solid hardwood vs. veneer, or a piece that just needs minor touch-ups compared to one requiring a full strip-and-refinish.
Considerations
- Solid vs. Veneer: If the item is made of thin veneers, aggressive sanding might risk wearing through the top layer. A gentler approach might be best.
- Existing Finish: Common finishes include varnish, polyurethane, shellac, lacquer, or paint. Each might require different solvents or removal techniques.
- Extent of Damage: If you see only superficial scratches or dull spots, a recoat or restorative polish might suffice. For deeper scratches, peeling, or water rings, full refinishing may be necessary.
- Age or Historical Value: Antique or vintage pieces may lose resale or sentimental value if completely stripped. Consider gentle methods first or consult an expert for valuable pieces.
Takeaway
Assess the wood carefully. If it’s mostly intact, you might skip complex stripping. But if the surface is chipping, uneven, or severely discolored, you’ll need more thorough restoration steps.
2. Gathering Tools and Materials
Why It Matters
Heading into a wood restoration project without the right tools can lead to frustration, wasted time, or subpar results. Equipping yourself upfront ensures a smoother workflow.
Essential Items
- Protective Gear: Gloves, safety glasses, a mask (especially if dealing with dust or harsh chemicals).
- Clean Cloths and Brushes: For applying finishes, wiping dust, or using solvents.
- Sanding Materials: Sandpaper in multiple grits (e.g., 80–120 for heavy removal, 220–320 for smoothing). An orbital sander can speed up large flat surfaces.
- Chemical Stripper (If needed): For removing thick varnish or paint.
- Wood Filler: To address gouges or cracks.
- Finish Products: Stains (if you want color), plus a protective topcoat like polyurethane, varnish, or wax.
- Optional: Steel wool, tack cloth, tack remover for hammered nails, or detailing brushes for intricate carvings.
Takeaway
Setting up your workspace with the right array of supplies and protective gear will help you tackle the project safely, thoroughly, and with professional-looking results.
3. Removing Old Finishes
Why It Matters
When wood is heavily coated or the existing finish is peeling or discolored, stripping is often the best path to a fresh start. Proper removal avoids layering new finishes over compromised surfaces, which can lead to uneven or peeling results.
Stripping Methods
- Chemical Strippers:
- How They Work: Gel or liquid chemicals soften old paint/finish, making it easier to scrape off.
- Pros: Less dust, effective on carved or intricate areas.
- Cons: Fumes can be harsh, must work carefully to avoid damaging the wood if left too long.
- Mechanical Sanding:
- Best For: Large, flat areas. Sanders remove layers systematically.
- Cautions: Over-sanding can remove wood material and detail, or create uneven surfaces.
- Combination:
- Used For: Complex or heavy finishes. Start with chemical stripper, then use sanding to refine.
Key Tips
- Test a Small Area: Ensure your chosen stripper or approach doesn’t damage or discolor the wood.
- Work in Ventilated Spaces: Chemical fumes can be hazardous.
- Scraping Gently: Use plastic scrapers or putty knives so you won’t gouge the wood.
Takeaway
Stripping can be time-consuming, but a thorough approach ensures the new finish bonds well and the wood’s original grain reemerges beautifully.

4. Sanding and Surface Preparation
Why It Matters
Sanding smooths out leftover finish residue, minor scratches, and any filler used on cracks. A clean, even surface ensures the new stain or sealant adheres uniformly and highlights the wood’s natural beauty.
Sanding Sequence
- Rough Grit (80–120): For leveling out uneven patches or removing stubborn bits of old finish.
- Medium to Fine Grit (150–220): Transition to finer grits for smoothing scratches from previous sanding steps.
- Extra-Fine Grit (220–320): Final pass for achieving a silky finish, especially if you want a polished look.
Pro Tips
- Always Sand in the Direction of the Grain: Minimizes swirl marks or cross-grain scratches.
- Keep It Even: Move the sander (or your hand) lightly and evenly to avoid divots or flattening edges.
- Wipe Dust: Use a tack cloth or damp rag between grits to remove debris that can create micro-scratches.
Takeaway
Investing time in thorough sanding is crucial. The smoother and more consistent the wood surface, the more professional the end result.
5. Staining or Leaving It Natural
Why It Matters
Stain can enhance wood grain or shift color to match décor. If you love the original wood tone, a clear finish might be enough. Deciding whether to stain (and which shade) is about personal preference, balancing natural beauty with desired design.
Steps if Staining
- Pick the Right Shade: Test on a scrap piece or inconspicuous area—stains can look darker or lighter in large areas.
- Apply Evenly: Use a brush or cloth following the grain. Wipe off excess to avoid blotches or streaks.
- Multiple Coats: Additional coats darken the color. Dry thoroughly between coats.
- Conditioners for Softwood: Softwoods (pine, for instance) can absorb stain unevenly, so a pre-stain conditioner might help achieve uniform coloring.
Takeaway
Stain transforms the wood’s aesthetic, but a well-applied stain requires patience. If you prefer minimal color shifts, a clear finish can highlight natural grain without altering hue.
6. Sealing and Protecting the Wood
Why It Matters
Once the wood is stripped, sanded, and optionally stained, applying a protective topcoat is the final step to ensure durability. This shield defends against moisture, scratches, and everyday wear.
Types of Finishes
- Polyurethane (Oil or Water-Based)
- Pros: Durable, great for frequently used surfaces (like tabletops or floors).
- Cons: Oil-based versions can yellow over time. Water-based is less yellowing but might require more coats.
- Lacquer
- Pros: Dries quickly, yields a smooth, glossy finish. Common for furniture.
- Cons: Fumes can be strong; multiple thin coats needed.
- Shellac
- Pros: Adds warmth and depth, natural-based product.
- Cons: Not as protective against water or heat. More maintenance required.
- Wax or Oil (e.g., Tung Oil)
- Pros: Penetrates wood for a natural look, easy to reapply or touch up.
- Cons: Less resistant to heavy wear or moisture, frequent reapplications.
Application Tips
- Thin, Even Layers: Multiple thin coats better than one thick layer that can trap bubbles or dry unevenly.
- Sanding Between Coats: A light sanding (320–400 grit) between coats helps each layer adhere smoothly.
- Curing Time: Some finishes need days (or even weeks) to fully cure for maximum hardness. Follow instructions strictly.
Takeaway
Choose a finish that suits the usage—high-traffic floors or dining tables do well with durable poly, while decorative pieces might benefit from the easy reapplication of wax.
7. Maintenance After Restoration
Why It Matters
Even once you’ve brought wood back to life, maintaining that fresh finish ensures it continues to shine. Simple cleaning and upkeep habits can drastically prolong the results of your labor.
Maintenance Reminders
- Gentle Cleaning: Avoid harsh chemicals. A damp cloth or mild wood cleaner is often enough.
- Polish or Wax: If you used wax or oil, reapply periodically to keep the surface nourished.
- Avoid Heat/Water: Protect from direct sunlight, extreme heat, or constant moisture. Use coasters, trivets, or protective pads on furniture.
- Inspect Periodically: Catch small scratches or dull spots early, performing minor touch-ups instead of letting wear accumulate.
Takeaway
Ongoing care preserves the color, shine, and structural integrity you’ve painstakingly revived. A little routine attention can forestall major re-refinishing for years.
Refinishing or restoring wood is a step-by-step process that can yield impressive transformations—turning worn-out surfaces into striking showcases of grain and color. From the initial inspection of the old finish to sanding down rough edges and applying new stain or varnish, each stage builds upon the last, culminating in a revived piece that looks, feels, and functions like new. Remember, the key is patience: thorough stripping, careful sanding, and gentle coats of protective finish produce far better, longer-lasting results than rushed shortcuts.
Whether you’re tackling a small end table or a vast wood floor, the fundamentals remain consistent. You’ll rely on good prep work—like removing old lacquer or paint properly—and properly sealing the wood afterward. Meanwhile, minding how to store or clean the piece post-restoration keeps it in top shape. With some diligence, a DIY approach not only saves money but instills pride in your craftsmanship, allowing you to enjoy your revived wood for years and maybe even pass it on as a cherished heirloom to future generations.


